How to Install a SpaNet™ SV Series Heat Pump for Your Spa: A Comprehensive Guide 2024

Are you upgrading your spa with a SpaNet™ SV Series heat pump? This detailed guide provides everything you need to know about installing your SpaNet™ SV Series heat pump, from preparation to setup, ensuring optimal performance and efficiency.

heated spa pool

Are you upgrading your spa with a SpaNet™ SV Series heat pump? This detailed guide provides everything you need to know about installing your SpaNet™ SV Series heat pump, from preparation to setup, ensuring optimal performance and efficiency.

Key Takeaways:

Important Reminder: All electrical work must be conducted by a licensed electrician. Any electrical instructions provided here are for licensed professionals only. Always adhere to local electrical codes, which supersede any information in this guide.

Which SpaNet™ Heat Pumps Does This Guide Cover?

This guide applies to the following SpaNet™ SV Series heat pumps available through Spa World:

  • SN-HP-55P (5.5 kW)
  • SN-HP-90P (8.8 kW)
  • SN-HP-120P (12.0 kW)

Please refer to the manual for exact measurements and details specific to your model.

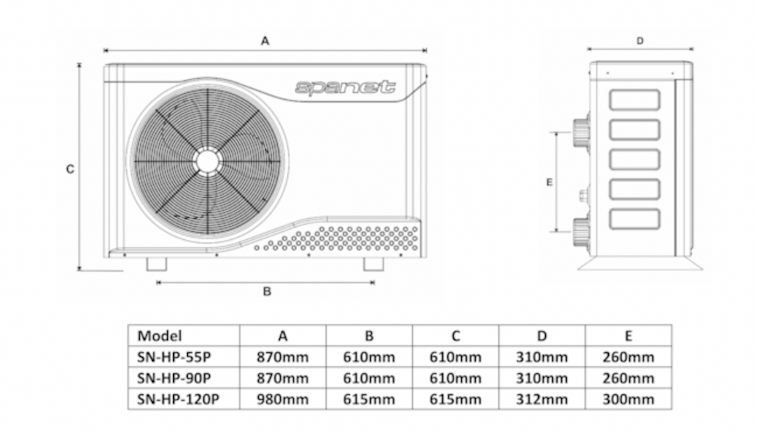
Check the manufacturer's diagram below to confirm the specific measurements of your particular SV Series™ heat pump model.

Back to top

Spanet Heat Pump Outlines & Dimensions

SpaNet™ SV Series Heat Pump Dimensions

Model

A (Length)

B (Distance between feet)

C (Height)

D (Width)

E (Distance between water outlets)

SN -HP- 55P

870mm

610mm

610mm

310mm

260mm

SN- HP- 90P

870mm

610mm

610mm

310mm

260mm

SN- HP- 120P

980mm

615mm

615mm

312mm

300mm

Back to top

What is a SpaNet™ SV Series Heat Pump?

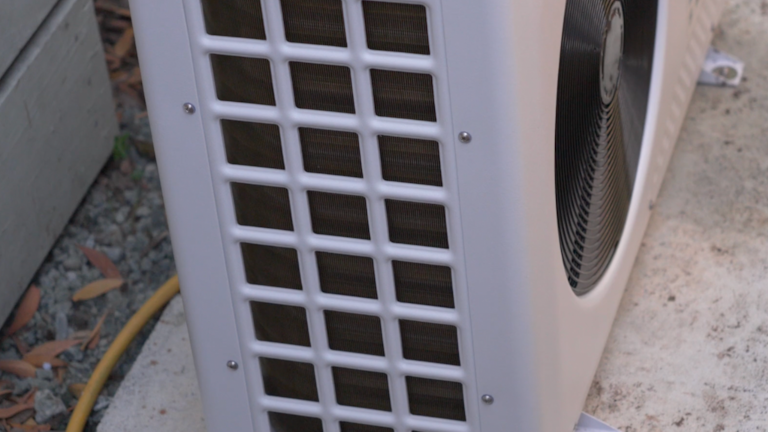
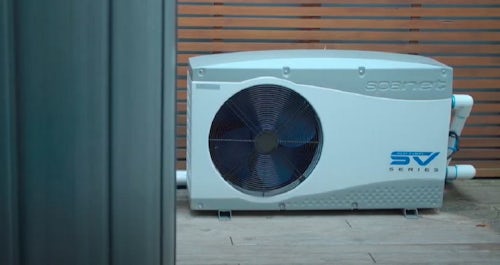
The SpaNet™ SV Series heat pumps are energy-efficient, reliable, and designed to both heat and cool spa pools. They use eco-friendly refrigerants and titanium heat exchangers, providing significant savings on heating and cooling costs—up to 75% compared to conventional spa heaters.

Watch: How to correctly install a SpaNet™ Heat Pump

Preparing for Installation

Tools and Parts Required:

  • 40mm or larger hole saw
  • PVC pipe glue
  • Hacksaw
  • 40mm hard pipe (external use of Flexi pipe is not recommended)
  • 40mm PVC joiners and elbows (the amount required will depend on your installation)

Note: Ensure proper support of pipework, particularly near the heat pump connections. Insulation of all piping is highly recommended, though not mandatory, to prevent heat loss and UV damage. Insulation is not included in Spa World Standard Heat Pump Installation and is the responsibility of the owner.

How to install an SV Series SpaNet™ Heat Pump

Step 1: Select the Installation Location

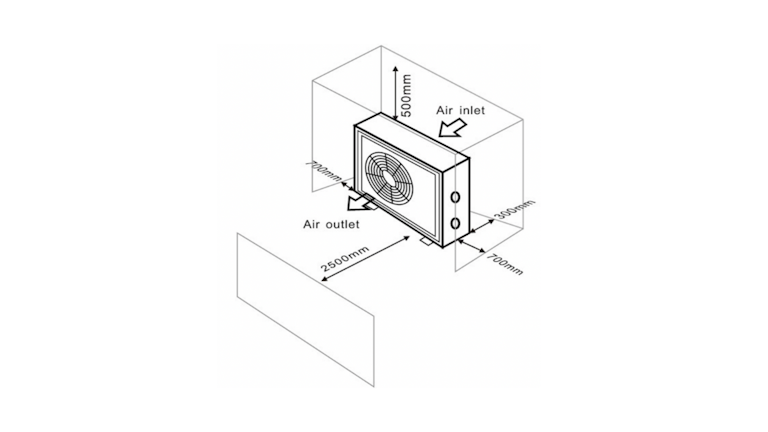
Choose an outdoor site that ensures good air circulation and is no more than three meters from the spa controller. The heat pump should be no more than one meter above or below the spa’s base.

Clearance Requirements:

  • 300mm clearance at the back
  • 700mm clearance on both sides
  • 2.5 meters in front
  • 500mm above the unit

See the manufacturer’s image below for an example:

Spanet Heat Pump Clearance Requirements

SpaNet™ SV Series Heat Pump Clearance Requirements

Consult the manufacturer's guidelines for specific clearance requirements or your heat pump model.

Back to top

Ensure the location is free from vegetation and other obstructions, and consider its proximity to both your windows and your neighbours’ windows.

Step 2: Prepare the Foundation

Create a flat, sturdy base using concrete or well-placed pavers. In areas with harsh weather conditions, elevate the heat pump approximately 50cm above ground level to prevent damage from snow or water accumulation.

Step 3: Plan for Drainage

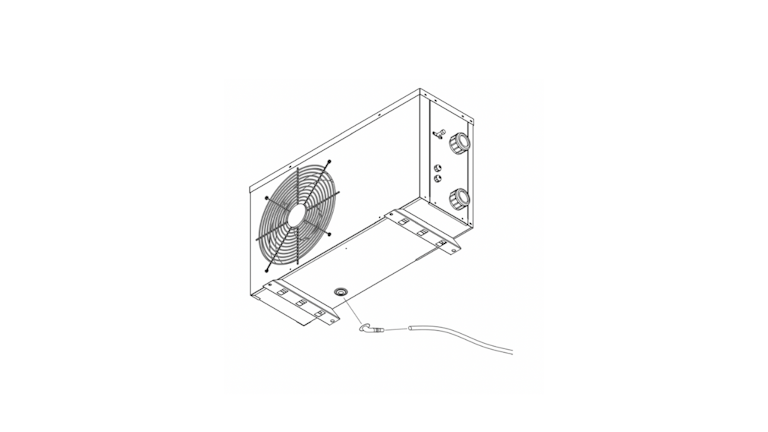
Prepare the area beneath the heat pump for condensation drainage. Arrange plumbing to direct the condensate drain to an appropriate discharge location. Note that Spa World does not handle condensate drain plumbing as part of the Heat Pump installation service. If required, this is the responsibility of the owner.

Spanet Heat Pump Condensation Drain Diagram

SpaNet™ SV Series Heat Pump Condensation Drain Diagram

Step 4: Safety Barriers and Regulations

For installations outside a fenced pool area, establish a non-climbable zone of at least 900mm between the fence top and the heat pump. Maintain a 500mm clearance between the heat pump and the fence, at ground level. Review and comply with local safety barrier regulations.

Back to top

Step 5: Prepare Power and Data Connections

Ensure the power and data cables are long enough to connect the heat pump to the spa controller.

Trenching Considerations:

If you are installing the electrical wiring and plumbing for your heat pump in a trench, there are specific guidelines you need to follow. For detailed information on installing a heat pump below ground, refer to the article below.

Filter Compatibility:

Purezone™ filters are not recommended for use with hybrid heat pumps like the SpaNet SV series due to water flow restrictions. Instead, use pleated filters to ensure proper water flow and system operation.”

Installation Process

Step 1: Prioritise Safety

Turn off the spa's power at the main circuit breaker and verify there is no power using appropriate testing equipment. Follow safe lifting techniques and use appropriate safety equipment.

Step 2: Position the Heat Pump

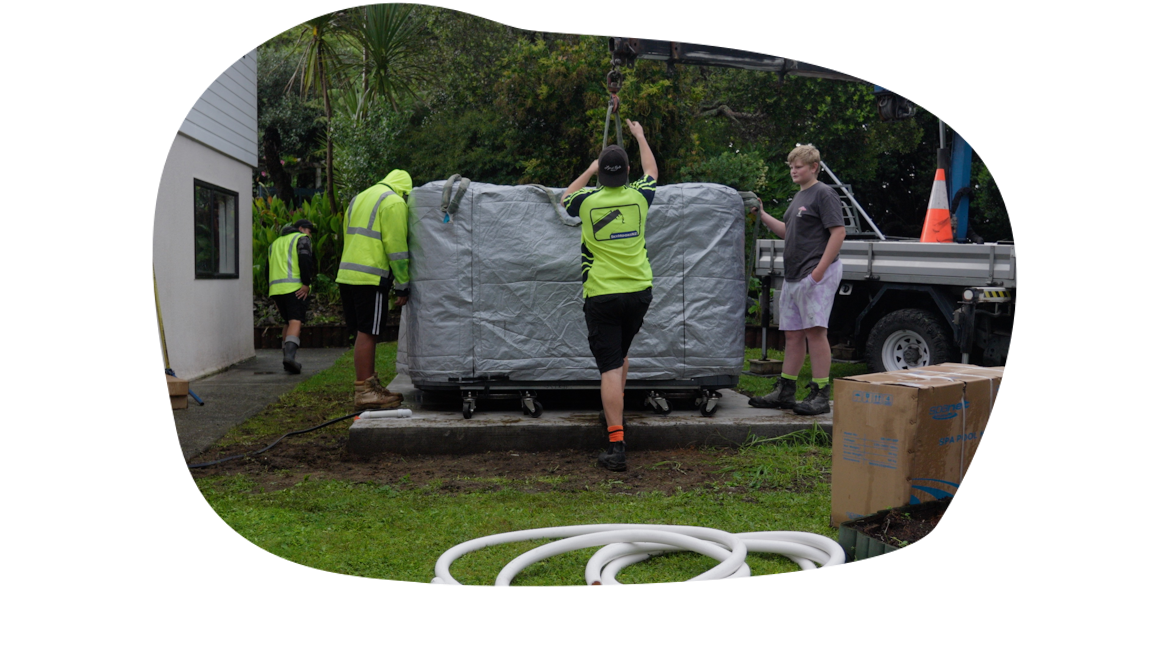
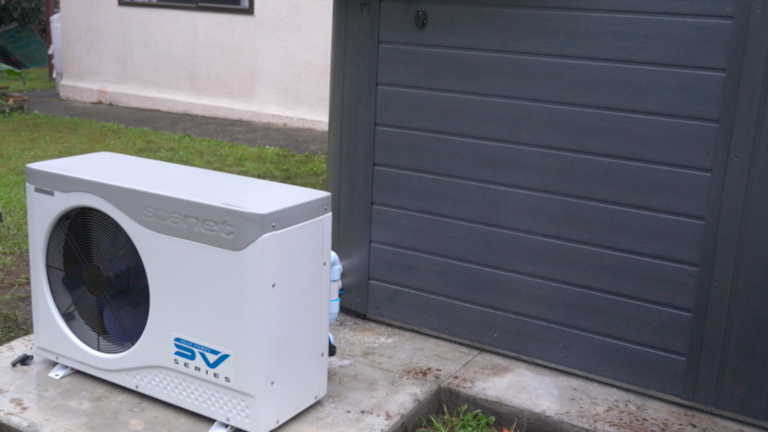
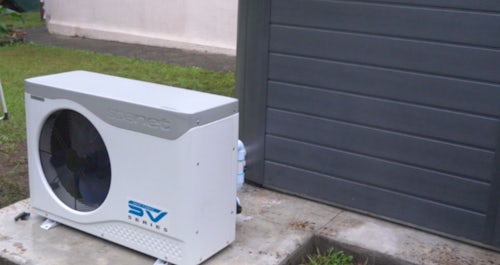
Place the heat pump on the prepared foundation, ensuring it is level and stable. Follow the clearance requirements detailed earlier.

Back to top

Step 3: Install the Condensation Drain

Optionally, fit the provided condensation drain connector to the base of the heat pump and attach piping to direct the condensate to an appropriate location as per local guidelines.

Note: Drain installation is the owner's responsibility and is not included in Spa World’s service.

Step 4: Connect Water Pipes

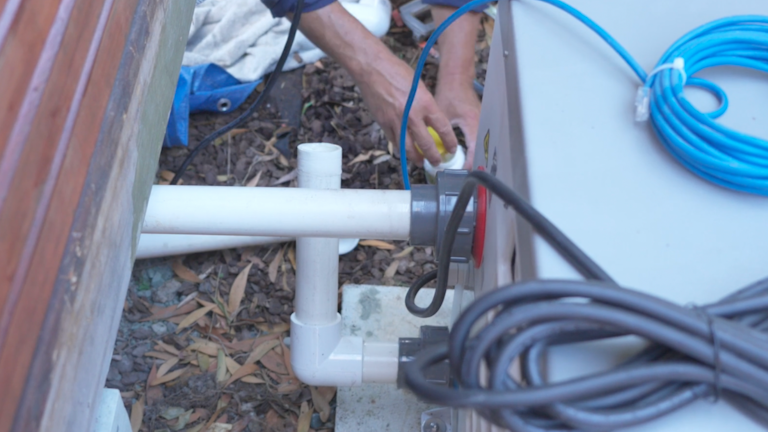
Using 40mm PVC pressure pipe, connect the heat pump’s inlet and outlet ports. Ensure proper water flow direction from the spa to the bottom inlet of the heat pump, then from the top outlet back to the spa.

Support all pipework, especially near connections to the heat pump. Damage to the heat pump due to not supporting the pipework is not covered under warranty. Insulate all external pipes to prevent heat loss.

Note: Spa World does not provide insulation or the labour to insulate the pipes.

Spanet heat pump water pipes

Back to top

Step 5: Connect Power and Data Cables

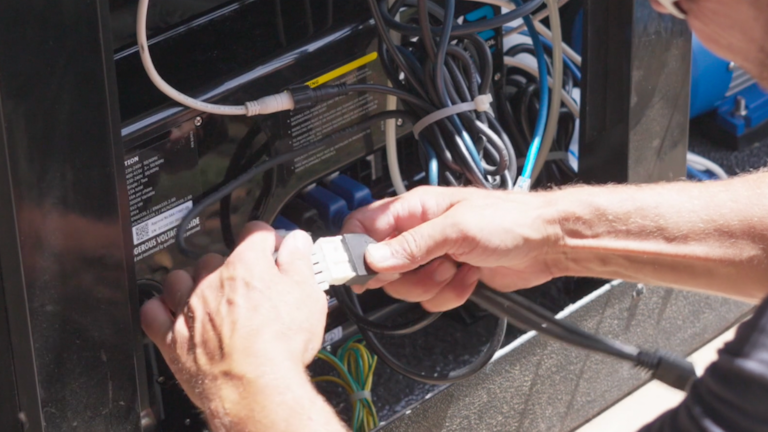
Connect the pre-installed power and data cables to the corresponding ports on the SV spa controller.

Spanet heat pump power connection

Final Steps

  1. Fill the Spa: Follow your spa’s manual for instructions or refer to Spa World’s detailed startup guide.
  2. Adjust Valves: Open the valves to provide water flow to the heat pump, and bleed air from the system by loosening the necessary couplings.
  3. Configure the Spa Controller: Set the H.PMP (Heat Pump Operation Mode) to “HEAT” or “AUTO” as required. Adjust H.ELE if additional heating is needed.
  4. Test the System: Run the filtration pump, check for proper water flow and any leaks, and verify heat pump operation through the spa-side keypad.

Safety Information

Safety is paramount when installing and operating the SpaNet™ SV Series heat pump.

Please follow these important guidelines:

  • Electrical Work: Must be performed by a licensed electrician and comply with local codes.
  • Water Flow: Maintain proper water flow through the heat pump at all times.
  • Cold Weather Precautions: In freezing conditions, ensure water circulation continues or drain all water when not in use.
  • General Guidelines: Do not modify the heat pump’s internal configuration, and supervise children to prevent them from playing near the unit.

Back to top

Spa World's Professional Heat Pump Installation Service

At Spa World, we understand that installing a heat pump for your spa can be a complex process. That's why we offer a professional installation service to ensure your SpaNet™ EcoCube™ heat pump is set up correctly and efficiently.

This service is available to customers located within 75km of a Spa World showroom.

Click the button below to learn more abvout this service and why it's worth it.

Back to top

Conclusion

Installing a SpaNet™ SV Series heat pump is a great way to enhance the efficiency and performance of your spa or swim spa. This guide provided step-by-step instructions for preparing the installation site, connecting the necessary components, and ensuring proper operation. Key takeaways include:

  • Pre-Installation Requirements: Choose an outdoor location with adequate clearance and prepare a solid foundation to support the heat pump.
  • Proper Connections: Ensure that all electrical and plumbing work is completed by licensed professionals to meet local code requirements.
  • Installation Process: Follow the detailed steps for positioning the heat pump, connecting water pipes and power cables, and testing the system for optimal performance.
  • Safety Considerations: Always prioritize safety, especially with electrical work, and ensure proper drainage and insulation where necessary.
  • Professional Installation: For a seamless experience, consider Spa World’s professional installation service. It includes plumbing and electrical connections, system testing, and basic instructions but excludes site preparation and certain plumbing tasks.

By following this guide, you can ensure a smooth installation process and enjoy the energy savings and comfort a SpaNet™ SV Series heat pump offers. For those who prefer expert assistance, Spa World’s professional installation service guarantees peace of mind and proper setup.

Article authored by: Mariam El Orfi

Related Articles

Five Star Trust Pilot Rating

We are proud that Spa World customers have given us a Five Star Trustpilot rating.